这是安装博客第一步
安装 Hexo
前往 NodeJS官网下载并安装
在命令行使用命令
git --version查看前往 Git 下载并安装
在命令行使用命令
node -v、npm -v查看新建文件夹用于存储博客文件
右击文件夹,选择 Git Bash Here,进入 Git Bash
安装 hexo
npm install hexo-cli -g安装 hexo 部署到 git page 的 deployer
npm install hexo-deployer-git --save初始化配置 hexo
hexo init完成安装,Hexo 文件夹下的目录如下:
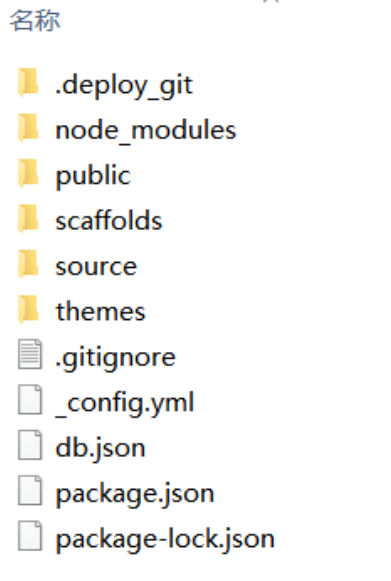
可以执行以下命令后,进入http://localhost:4000/ 查看效果:
hexo g
hexo s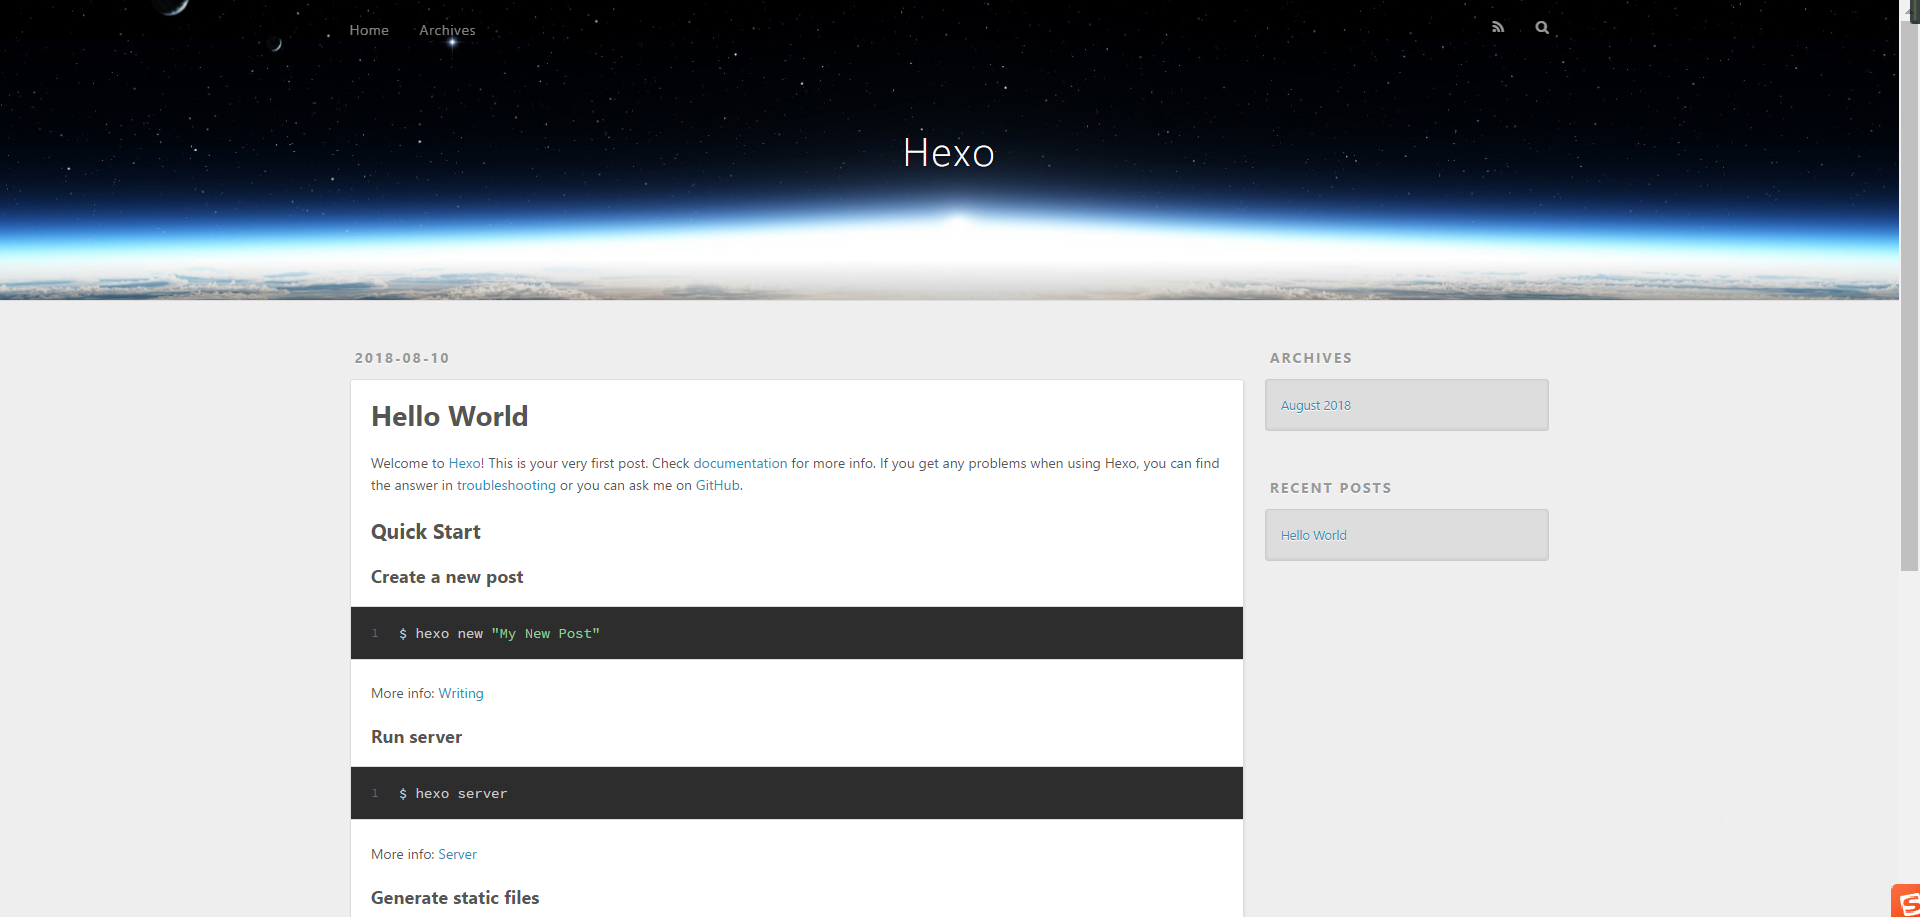
博客部署到 Github Pages
新建仓库
点击 New repository 创建代码项目库
注意:
- 项目名必须为
"用户名".github.io- 勾选 Initialize this repository with a README
配置 SSH
只有配置好 SSH 密钥后,才可以通过 git 操作实现本地代码库与 Github 代码库同步
在 Git Bash 输入以下命令
ssh-keygen -t rsa -C "your email@example.com" //引号里面填写你的邮箱会出现:
Generating public/private rsa key pair.
Enter file in which to save the key (/c/Users/you/.ssh/id_rsa):
直接回车即可,然后会出现:
Enter passphrase (empty for no passphrase):要你输入密码,其实不需要输什么密码,直接回车就行
接下来屏幕会显示:
Your identification has been saved in /c/Users/you/.ssh/id_rsa.
Your public key has been saved in /c/Users/you/.ssh/id_rsa.pub.
The key fingerprint is:
// 这里是各种字母数字组成的字符串,结尾是你的邮箱
The key's randomart image is:
// 这里也是各种字母数字符号组成的字符串
运行
clip < ~/.ssh/id_rsa.pub将代码复制到剪贴板在 GitHub 账户中添加你的公钥
- 登陆 GitHub,进入 Settings:

- 登陆 GitHub,进入 Settings:
点击 SSH and GPG Keys:
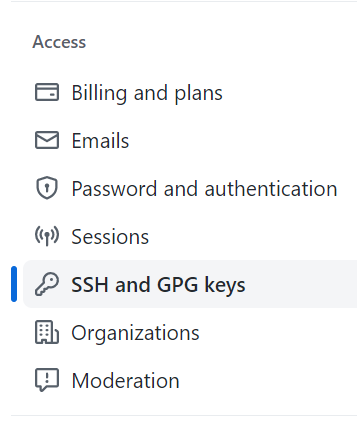
选择 New SSH key:
添加 SSH
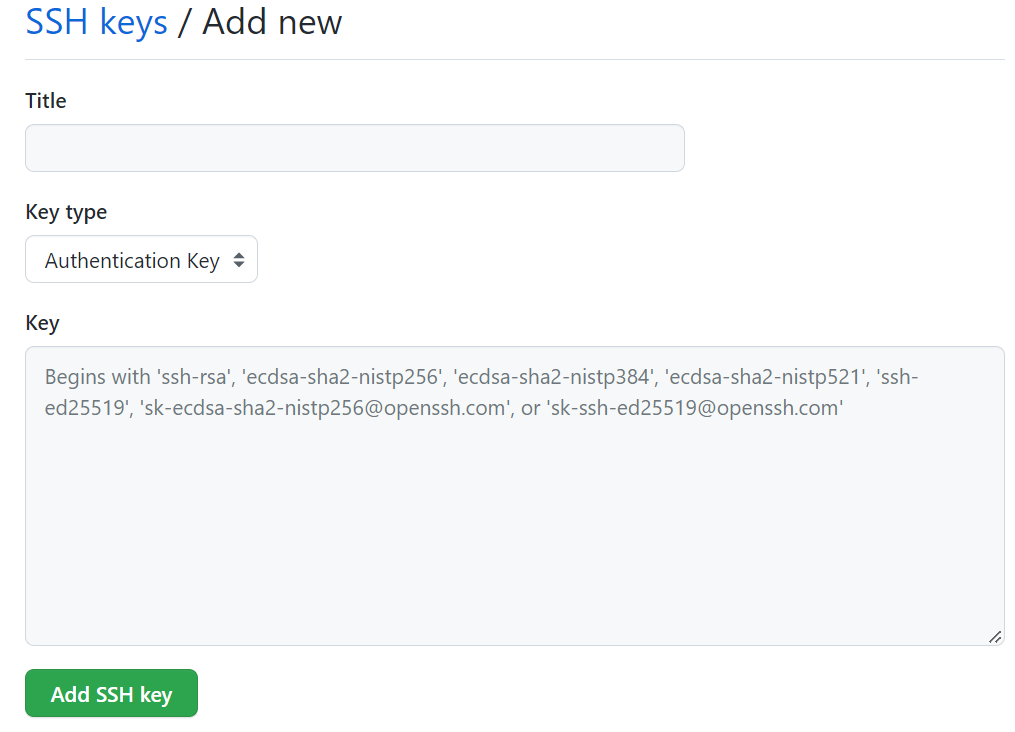
Title 可以随便取, Key 即粘贴板值
在 Git Bash 上输入
ssh -T git@github.com输入
yes后若显示 “Hi XXX!…” 即配置成功配置 Git 个人信息
git config --global user.name "此处填你的用户名"
git config --global user.email  "此处填你的邮箱"
本地 Hexo 文件更新到 Github 中
登录 Github 打开自己的项目
"your name".github.io点击 Clone or download ,选择 Use SSH,并复制地址
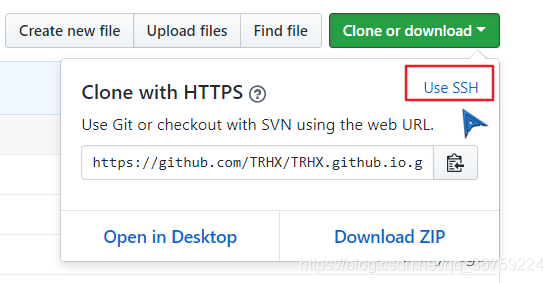
打开 Hexo 根目录下的
_config.yml并修改# Deployment ## Docs: https://hexo.io/docs/deployment.html deploy: type: git # 注意冒号后有一格空格 repository: git@github.com:"用户名/用户名.github.io.git" # 粘贴板内容 branch: main执行命令
hexo g
hexo d
即成功,可以通过
https://你的用户名.github.io访问博客了
在博客上发表文章
执行命令
hexo n "文章标题"新建文章文章以 Markdown 格式存储在
\Hexo\source\_posts中, 使用 Typora 打开文章开头可以以 format 格式设置文章参数
文章开头format格式
配置选项 默认值 描述 title文件标题 文章标题 date创建时间 发布时间 author_config.yml>author文章作者 imgfeatureImages中的某个值文章封面图(默认在 /medias/featureimages/xxx.png)toptrue首页推荐文章 coverfalse文章加入首页轮播 coverImgfeatureImages首页轮播封面显示图片 password文章阅读密码 toctrue开启 TOC mathjaxfalse开启数学公式 summary文章摘要(我喜欢在正文用 <!-- more -->)categories文章分类 tags文章标签 keywords文章标题 SEO关键字 reprintPolicycc_by文章转载规则, 可以是 cc_by、cc_by_nd、cc_by_sa、cc_by_nc、cc_by_nc_nd、cc_by_nc_sa、cc0、noreprint、pay可以在
\scaffolds\post.md中修改模板编写好后执行命令即可发布
hexo clean
hexo d
hexo g


